
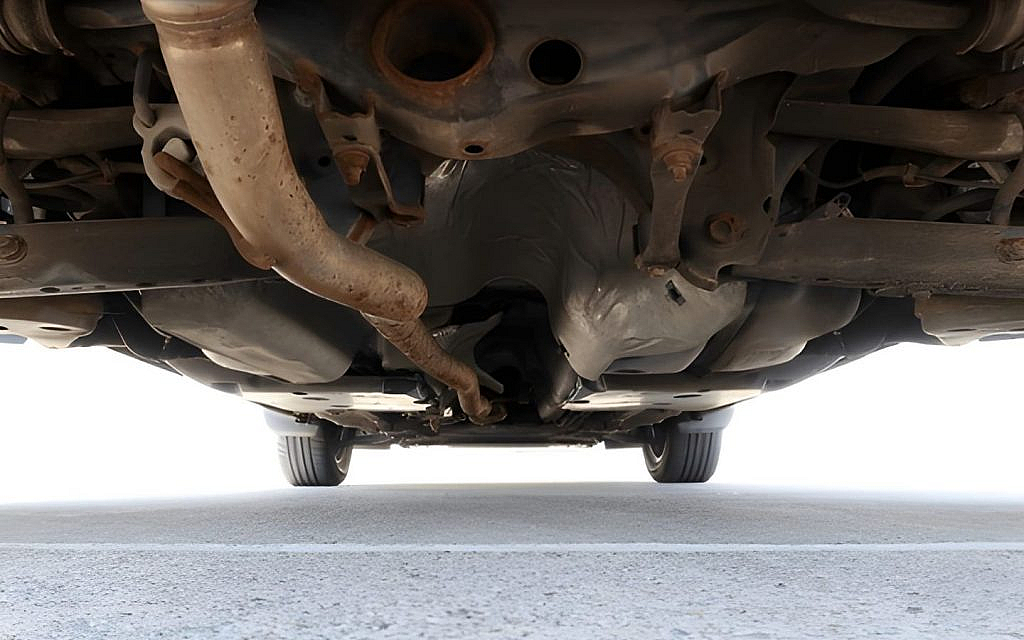
Beneath the polished car exterior lies an area that silently takes the brunt of daily driving, the undercarriage. Despite its importance, this area is often neglected in routine car care. Car undercarriage cleaning is essential to prevent rust, corrosion and long-term mechanical problems caused by dirt, mud, road salt and moisture. By keeping the undercarriage clean, you extend your vehicle’s lifespan, improve driving performance and avoid costly repairs.
Why Cleaning the Undercarriage Matters
Regular cleaning of your vehicle’s undercarriage is an essential part of any comprehensive car maintenance checklist. The following are the reasons highlighting its importance:
- Prevents rust and corrosion: Road salt and moisture eat away at metal surfaces over time.
- Improves vehicle performance: A clean undercarriage helps the suspension and steering work more smoothly.
- Reduces repair costs: Preventive maintenance reduces the need for expensive part replacements.
- Ensures safety: Cleaning makes it easier to spot cracks, loose parts or early rust.
Essential Tools and Supplies for Car Undercarriage Cleaning
Before starting your DIY undercarriage wash, make sure you have the right equipment:
- Pressure washer or high-pressure garden hose
- Degreaser or undercarriage-safe cleaner
- Stiff-bristle brush
- Car jacks and jack stands (for better access)
- Rust inhibitor or protective spray (optional)
- Gloves and safety glasses
Step-by-Step Method for Washing a Car’s Undercarriage
A structured approach makes cleaning your car’s undercarriage easier. Let’s break it down step by step.
Step 1: Prepare the Work Area
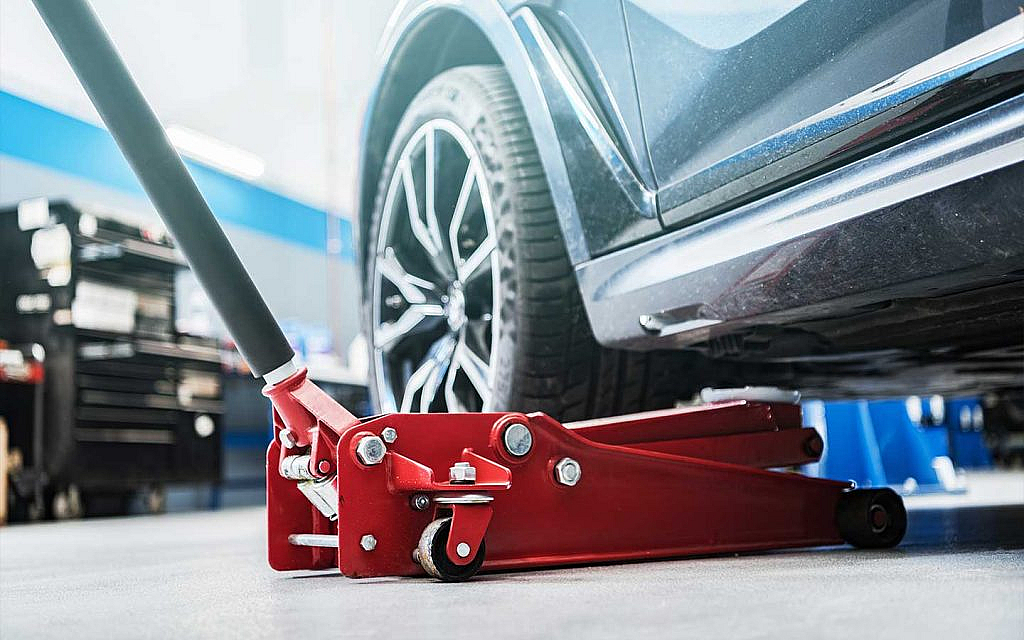
Start by parking your vehicle on a flat surface and letting it cool down. If needed, raise the car with a jack and secure it using jack stands to safely access the underside. Keep tools within reach to avoid interruptions during cleaning.
Step 2: Rinse Off Loose Dirt
Use a pressure washer or garden hose with a high-pressure nozzle to remove dirt from the car’s undercarriage. Begin at the front and work toward the back, covering car wheel wells, suspension parts and frame rails. Spray water at a 45° angle to dislodge debris without harming sensors or wiring.
Step 3: Apply Degreaser and Scrub
Spray an undercarriage-safe cleaner or degreaser on greasy areas and allow it to sit for 5-10 minutes to loosen grime. For stubborn stains, scrub the surface with a stiff-bristle brush. In cases of heavy buildup, you may need to reapply the cleaner and scrub again until the surface is clean.
Step 4: Rinse Again
Once scrubbing is complete, rinse the undercarriage thoroughly to wash away dirt and cleaning residue. Pay special attention to suspension joints, wheel wells and skid plates where grime often collects. A second rinse ensures no cleaner is left behind, which could otherwise cause corrosion.
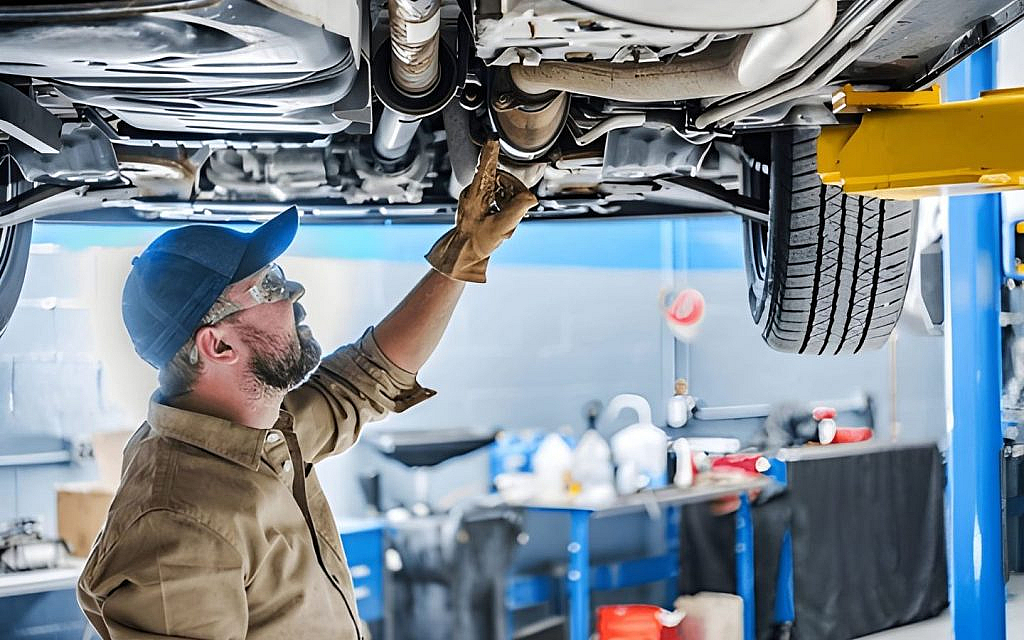
Step 5: Dry and Inspect
Allow the undercarriage to dry naturally or speed up the process with heated air. As it dries, take a close look for any signs of rust, cracks or loose bolts. Identifying these problems early will help prevent costly repairs and keep your car safe on the road.
Step 6: Protect the Undercarriage
After cleaning, apply a rust inhibitor or undercarriage protectant to the exposed metal parts for long-term protection. Apply silicone-based lubricant to rubber bushes and joints to prevent drying or cracking.
Common Mistakes to Avoid
Even with a proper step-by-step undercarriage wash, many car owners make small errors that reduce the effectiveness of their efforts.
- Skipping regular cleaning: If you drive in snowy, coastal or muddy areas, clean your undercarriage at least once a month.
- Using the wrong products: Harsh chemicals damage rubber seals and sensors.
- Ignoring rust: Even small spots spread quickly without treatment.
FAQs
How often should I clean my car’s undercarriage?
To prevent rust and buildup, clean your car’s undercarriage every three months under normal driving conditions. If you frequently drive in muddy or rainy conditions, clean it monthly. For salty or coastal areas, cleaning every 2-4 weeks is recommended.
Is it safe to pressure wash my car’s undercarriage?
It is safe to pressure wash the undercarriage if using moderate pressure and keeping a safe distance from sensitive components.
Do automatic car washes clean the undercarriage effectively?
Automatic car washes clean the undercarriage effectively for general dirt and salt removal, but they may miss some hard-to-reach areas compared to manual pressure washing.
Learning how to clean a car’s undercarriage is an often-overlooked part of car care, but it’s essential for preventing rust, boosting performance and extending your car’s lifespan. Regular cleaning ensures that dirt, mud and salt don’t build up and cause long-term damage, helping you enjoy a smoother and safer drive. If a DIY undercarriage wash feels overwhelming, professional car detailing services in the UAE can handle the task with specialised equipment and protective coatings.
A well-maintained undercarriage not only improves your vehicle’s performance but also boosts its resale value. And if you’re thinking about upgrading your ride altogether, go through these used cars for sale in the UAE to find the perfect match for your needs.
For more car cleaning and maintenance tips, stay connected with dubizzle’s auto blog.


