
Your brakes are one of the most important safety systems in your vehicle. A well-maintained braking system ensures not only your safety but also that of your passengers and other road users. Performing a brake safety inspection helps detect early signs of wear, prevents costly repairs and helps ensure your vehicle stops effectively when needed. Understanding the step-by-step process makes inspections manageable for both beginners and experienced drivers.
How to Inspect Car Brakes
A proper brake system safety check doesn’t have to be complicated. Start with a simple visual review of your brake pads, rotors and fluid levels, then move on to checking hoses and lines for leaks or damage. Listening for unusual noises during braking can reveal underlying problems such as worn pads or rotor damage. If you notice worn pads, low fluid or reduced stopping power, it’s time to schedule a car brake repair to restore performance and safety.
For those who prefer hands-on maintenance, these DIY brake inspection tips can help you perform a reliable check at home.
Step 1: Prepare the Vehicle
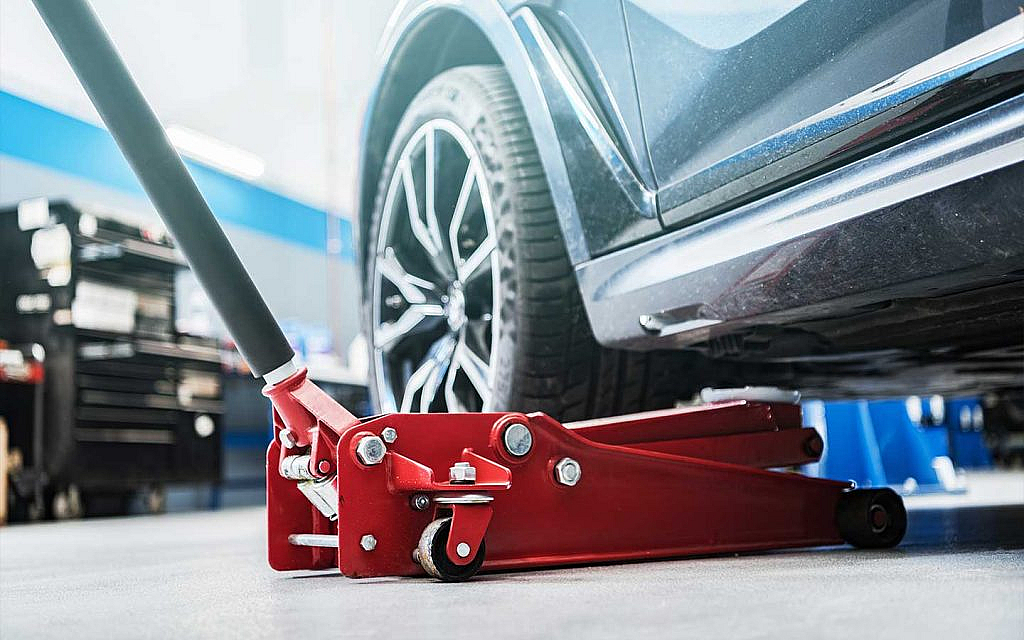
Before beginning the inspection, make sure your car is parked on a flat surface with the engine switched off and the parking brake engaged. If you need to lift the vehicle for better access, use a car jack and secure the vehicle with jack stands. Proper preparation prevents accidents and sets the stage for an efficient inspection.
Step 2: Start with a Visual Overview
Begin the process with a quick scan of the brake system. Look over the brake lines, hoses and visible components for any signs of leaks, rust, cracks or corrosion. Moreover, check that small hardware, such as clips and springs, is intact. This initial overview often highlights obvious issues, helping you spot potential problems before you move into a more detailed inspection.
Step 3: Inspect Brake Pads and Shoes
Next, examine the brake pads and shoes closely. The pads should have enough friction material remaining. If they are worn down to around three millimetres or less, they need to be replaced. Uneven wear patterns can signal deeper problems, such as sticking callipers or suspension misalignment. For drum brakes, look at the shoes for cracks or excessive wear, as these can affect braking performance.
Step 4: Check Rotors and Drums
The condition of the rotors and drums plays a critical role in safe braking. Inspect them for scoring, grooves, cracks or excessive rust. If you notice surface damage or warping, they may need resurfacing or replacement. Use a micrometre to measure the thickness and compare it with the manufacturer’s minimum requirements. If the measurement falls below the specified limit, the component must be replaced to ensure safe operation.
Step 5: Evaluate Brake Fluid
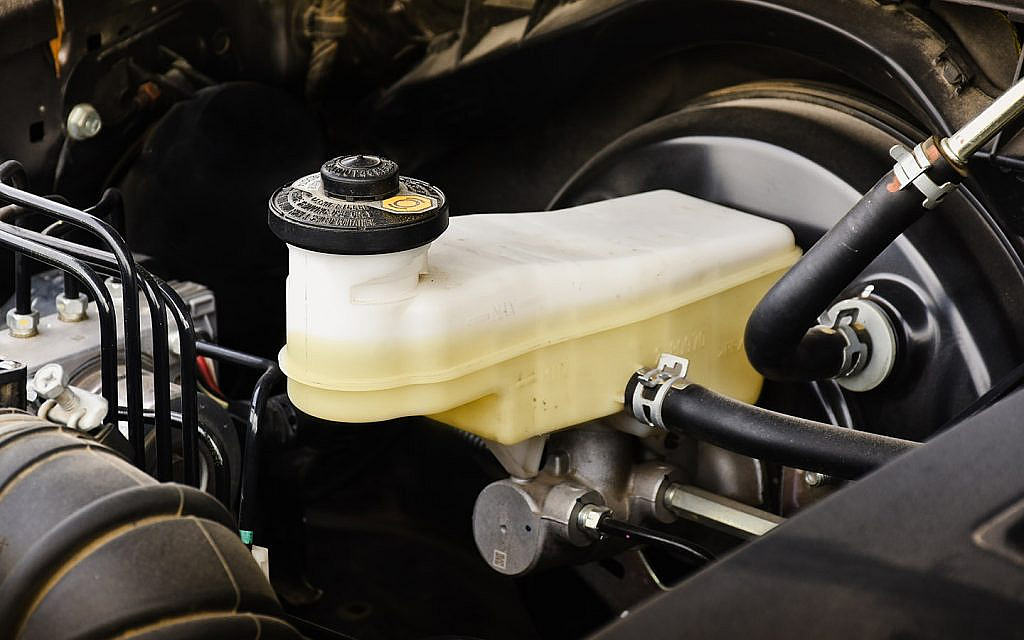
The brake fluid should always be clean and at the proper level in the reservoir. Fluid that appears dark or dirty indicates contamination and should be replaced. Low fluid levels are often a sign of worn brake pads or potential leaks. Always refill with the type of brake fluid recommended by your vehicle’s manufacturer to maintain proper system performance.
Step 6: Inspect Brake Lines and Hoses
Brake lines and hoses carry fluid under pressure, so their integrity is vital. Rubber hoses should be checked for bulges, cracks or leaks, while metal lines must be free of corrosion and dents. Any damage to these components can compromise braking performance and requires immediate replacement.
Step 7: Review Hardware and Supporting Components
Small hardware pieces such as springs, clips and retaining pins ensure that brake callipers and pads function correctly. If any of these components are missing, loose or damaged, the braking system may not operate smoothly. Take time to examine these parts, as overlooking them can result in uneven braking or unwanted noise.
Step 8: Examine Callipers and Wheel Cylinders
For vehicles with disc brakes, carefully inspect the callipers for fluid leaks, sticking pistons or damaged seals. If your car has drum brakes, check the wheel cylinders for leaks and confirm that they are working properly. Any issues with these components can directly affect stopping power and need prompt repair.
Step 9: Test the Brake Booster
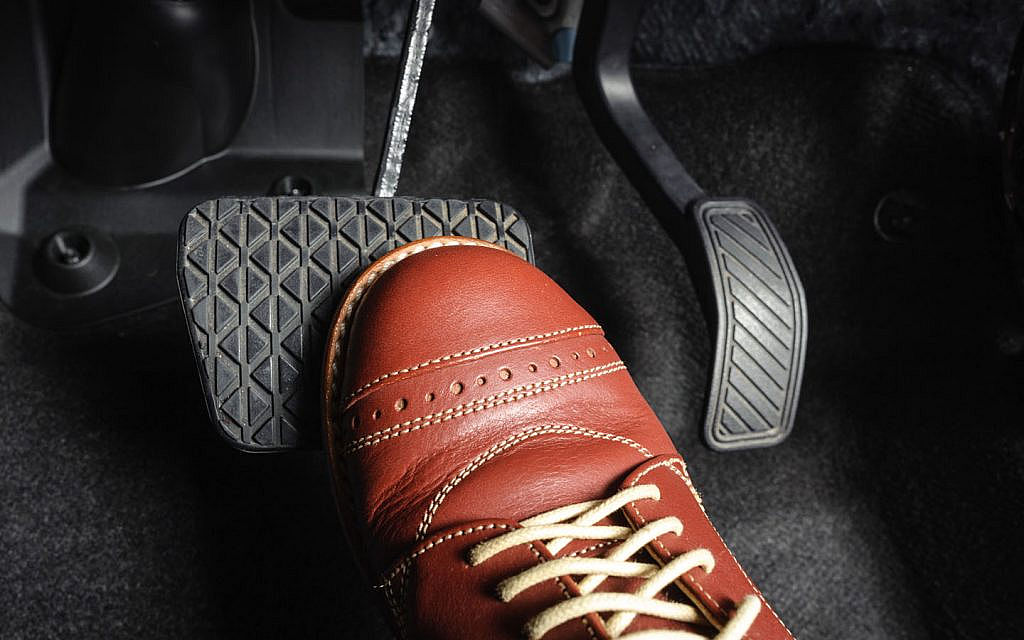
The brake booster assists in applying pressure with less effort. To test it, press the brake pedal several times with the engine off to release any vacuum, then hold the pedal down. Start the engine while keeping pressure on the pedal. If the pedal sinks slightly, the booster is functioning correctly. If it doesn’t, there may be a problem that requires professional attention.
Step 10: Finish with a Road Test
Finally, take the vehicle for a short drive in a safe area to confirm your findings. Pay attention to how the brake pedal feels; it should be firm and responsive. Listen for unusual noises such as squealing or grinding, watch for vibrations and check that the vehicle stops smoothly without the car pulling to one side. A road test provides the final confirmation that your brake system is in good condition.
FAQs
What is included in a brake safety inspection?
A brake safety inspection includes checking pads, rotors, fluid, lines, callipers and hardware for wear or damage.
How often should I inspect my car’s brakes?
It is recommended to inspect car brakes every 20,000 kilometres or at least once a year.
What are the signs my brakes need maintenance?
Signs such as squealing noises, vibration, longer stopping distance or a soft brake pedal indicate that your car’s brakes require maintenance.
Conducting regular brake inspections is an essential responsibility for every vehicle owner. A well-maintained braking system not only ensures safe driving but also prevents unexpected failures and costly repairs.
For drivers in the UAE, dubizzle’s car inspection service makes this process easier by providing professional evaluations that give buyers and sellers confidence in a vehicle’s condition. If you are in the market for your next vehicle, you can explore a wide selection of used cars for sale in the UAE to find one that meets your needs.
Stay tuned to dubizzle’s auto blog for expert tips, guides and insights on car repairs and maintenance.


