
Replacing lower control arm bushings is an essential maintenance task that can significantly improve your vehicle’s handling and safety. Replacing lower control arm bushings is a job that requires patience, precision and the right tools. These bushings play a crucial role in the suspension system, providing flexibility and absorbing vibrations. Over time, these rubber bushings wear out due to constant stress from road conditions and driving habits. This leads to clunking noises, uneven tyre wear or poor handling. If you notice these symptoms, it might be time to replace lower control arm bushing.
Steps to Replace Lower Control Arm Bushings
A worn-out lower control bushing can cause car shaking, therefore, it is important to change it. Let us walk you through the process of replacing lower control arm bushings, ensuring you have the necessary tools and steps to complete the job successfully.
Tools and Materials Needed
- Socket set (including 14mm, 15mm, 19mm, 20mm and 24mm sockets)
- Wrench set
- Hammer
- Ball joint/bushing press (can often be rented from auto parts stores)
- Torque wrench
- Pry bar
- Jack and jack stands
- Penetrating oil (if needed)
- New control arm bushings (ensure they match your vehicle’s specifications)
- Grease (for lubrication during installation)
Step 1: Prepare Your Vehicle
- Safety First: Park your vehicle on a flat surface, engage the car brakes and wear safety glasses.
- Lift the Vehicle: Use a jack safely to lift the front of your vehicle and secure it with jack stands.
- Remove the Wheel: Take off the wheel on the side where you will be replacing the bushings using a socket wrench.
Step 2: Remove Obstructing Components
- Detach the Sway Bar Link: Use a wrench to remove the nut from the sway bar link attached to the lower control arm. If it’s stuck, tap it gently with a hammer to loosen it.
- Remove the Ball Joint: Use a wrench (20 mm-24 mm) to remove the cotter pin and nut from the ball joint. If necessary, use a hammer to break it loose from its spindle.
Step 3: Remove the Lower Control Arm
- Locate Control Arm Bolts: Identify the lower control arm. It’s typically a triangular-shaped component connected to the frame and wheel hub. Find and remove the bolts attaching the control arm to the vehicle’s frame or subframe using your socket wrench.
- Remove Lower Control Arm: Carefully lower the control arm from its position once all bolts are removed. You may need to use a pry bar for leverage if it’s stuck.
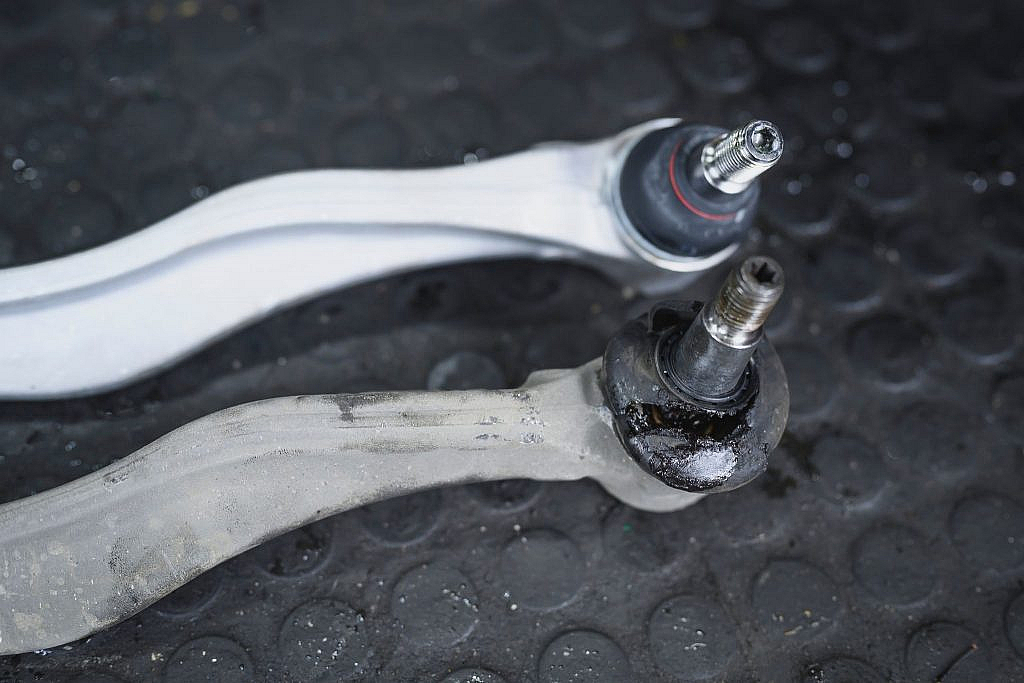
- Inspect the Control Arm: Before proceeding, inspect the control arm for cracks or damage. If the arm itself is compromised, consider replacing it entirely.
Step 4: Remove Old Bushings
- Press Out Old Bushings: Use a bushing press to remove old bushings from the control arm. If you don’t have a press, you can use a hammer and socket to push them out carefully.
- Tip: If using a press, ensure that you isolate each bushing properly to avoid bending the control arm.
- Clean Control Arm: After removing old bushings, clean any rust or debris from inside the control arm sleeves using steel wool or emery cloth.
Step 5: Install New Bushings
- Prepare New Bushings: Apply grease to both the outer surface of the new bushings and inside the control arm sleeves for easier installation.
- Press in New Bushings: Align and press in new bushings using your bushing press. You may need to tap them lightly with a hammer if they don’t go in easily. You can find new bushing along with a range of car accessories for sale in the UAE from here.
Step 6: Reinstall Lower Control Arm
- Position Control Arm: Place the lower control arm back into its original position under your vehicle.
- Reattach Bolts: Securely reattach all bolts that hold the control arm in place, ensuring they are torqued to manufacturer specifications.
- Reconnect Ball Joint: Reattach the ball joint and secure it with its nut and cotter pin.
Step 7: Final Steps
- Reattach Sway Bar Link: Reconnect any sway bar links that were removed earlier.
- Reinstall Wheel: Place the wheel back onto its hub and tighten the lug nuts securely.
- Lower Vehicle: Carefully remove the jack stands and lower your vehicle back to the ground.
Lower Control Arm Bushing Replacement Tips

Here are some useful tips to replace lower control arm bushing in your vehicle.
- Check Alignment: After replacing bushings, the geometry of the car suspension system might change. Have the wheel alignment checked and adjusted if necessary.
- Test Drive: Take your car for a test drive to ensure everything feels smooth and there are no unusual noises.
- Recheck Bolts: After driving for a few days, recheck all bolts to ensure they remain tight.
If you lack the tools or experience or if the bushings are particularly stubborn, it’s best to consult a professional mechanic. Incorrect installation can lead to further car suspension problems or compromised safety.
FAQs
When to replace lower control arm bushing?
Replace lower control arm bushings if you notice clunking noises, excessive vibration, uneven tyre wear or poor handling.
How long does it take to replace lower control arm bushings?
Replacing lower control arm bushings typically takes 1.5 hours per side, depending on the vehicle and the mechanic’s experience.
Is it advisable to drive with bad control arm bushings?
It is not advised to drive with bad control arm bushings. While you may still be able to drive, worn bushings can lead to poor handling, increased tyre wear and potential safety risks.
These are some easy-to-follow steps to replace lower control arm bushing. Replacing lower control arm bushings can seem daunting, but by following these steps, you can improve your vehicle’s handling and extend its lifespan. Regular maintenance of suspension components is crucial for safe driving.
Besides this, if your car is facing some major issues such as a damaged engine, consider buying a used car in the UAE from dubizzle.
Stay tuned to the dubizzle’s car blog for more repair and maintenance tips.


